Sarah Diregger
I was pouring a bottle of water into my glass and got distracted for a second. When I looked at the glass of water again, I was really shocked. The water was too much for the glass to hold, but it didn’t flow over on the table. There was this “bubble” of water above the rim of the glass. For the record, it looked really fascinating. So, I wanted to know why this was the case. Magic? Some antigravitational forces? God, having mercy on me, so I don’t have to get a napkin and wipe the table? Like any person in the modern days, I asked Mr. Google for help. He kindly explained to me what the actual, scientific reason was behind it.
To prove the explanations, I also conducted my own experiment. All you need is a pipette, different sized coins, water and maybe some napkins to dry up your workspace afterwards.
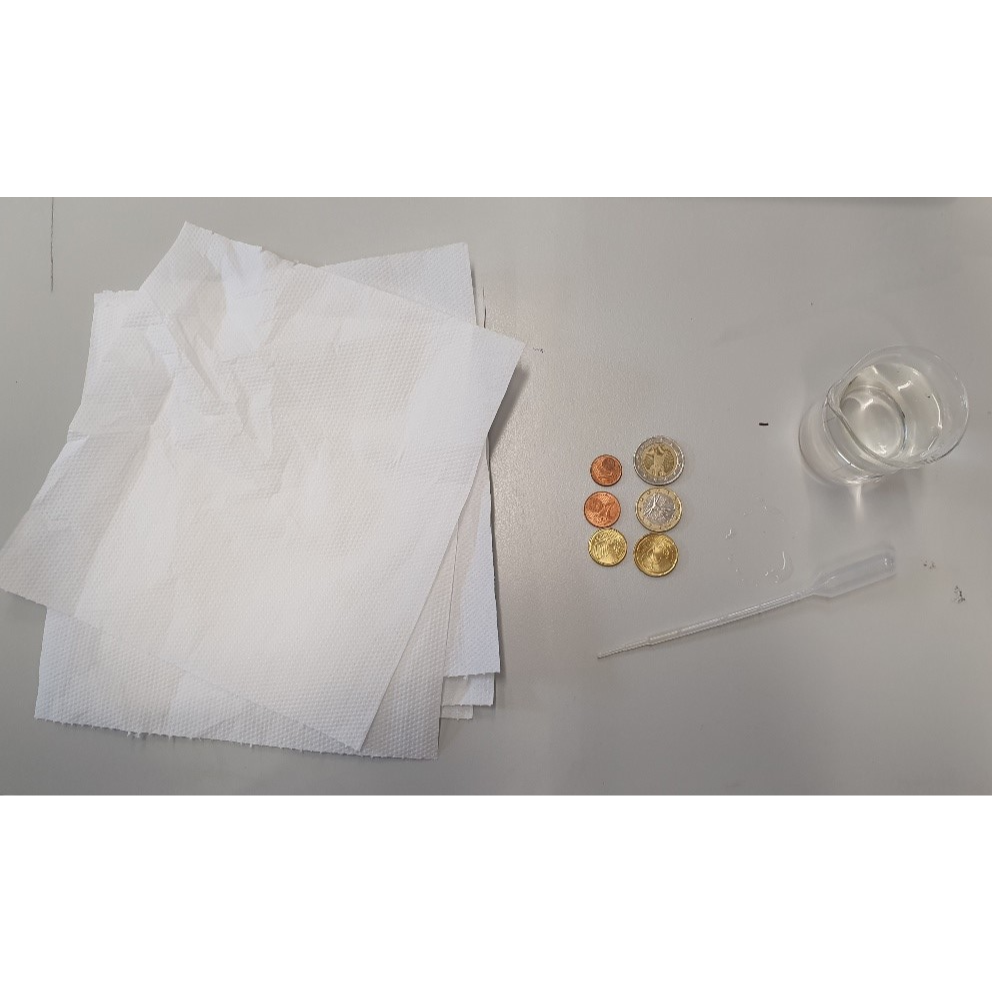
Then, using the pipette, I slowly dropped the water onto each coin and counted the drops.
| Type of coin | Average amount of water drops |
| 2 Euro coin | 41.3 |
| 1 Euro coin | 34.3 |
| 20 Cent coin | 34.3 |
| 10 Cent coin | 19.7 |
| 2 Cent coin | 20 |
| 1 Cent coin | 18.7 |

Ok, so we’ve established that the amount of water drops depends on the surface area of the coin, but what causes the “bubble” on top to remain a bubble? It’s actually quite logical.
First of all, it depends on the liquid. In our case it’s water. Water molecules are polar molecules. Now, you might ask yourself, “What the heck is a polar molecule?”. So, first of all, it’s important to know that a water molecule (H2OH2O) consists out of two Hydrogen and one Oxygen atom. The Hydrogen atoms have a slightly positive charge, and the Oxygen atom has a slightly negative charge. That means that the Oxygen atom of molecule A attracts the Hydrogen atom from molecule B. I drew a picture to help you visualize what I mean:

The bond between the molecules is called cohesion. It keeps the molecules stuck together. Cohesion is strong, but not unbreakable. When the water is dropped on the coin, each water molecule is attracted to each other. Therefore, a thing called the surface tension (the “skin” of the bubble) forms. This is what keeps all of the water together and allows the water to move over the edge of the coin. Once there’s too much water over the edge, gravity overcomes the bubble, and it bursts.
It is important, though, to remember that this only works with polar molecules. With nonpolar molecules, such as oil, the atoms from different molecules don’t attract each other and therefore, no bubble can be formed. To prove this, I tried the same experiment with the pipette and coin; but instead of water, I used oil. The result looked like this:
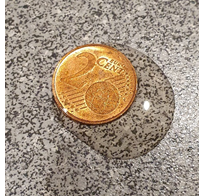
Once the oil flowed over the edge of the coin, it leaked to the surface of the table. To be honest with you, it was quite a mess. I’m talking from experience, when I say this: Don’t ruin any tabletops because your parents will give you hell for it!
In conclusion, the mysterious “bubble” on top of the glass (which is actually the surface tension) forms because of the attraction of the atoms between molecules, and the surface tension gives out when there is too much mass over the edge. Then, gravity becomes stronger than cohesion (the force between molecules) and the bubble bursts. But remember, this is only the case when the substance has polar molecules.
Fotocredit: (c) Sarah Diregger